
One of the most critical part of an adventure motorcycle is the chain, having a loose chain makes the experience of riding an adventure motorcycle unpleasant and posses a safety risk.
Doesn’t matter if you’re riding offroads or onroad, a loose chain is not a good thing.
Neglecting the maintenance of your adventure motorcycle can lead to tons of problems, from reduced performance, jerking on uneven roads, wear of the sprocket to safety hazards. That’s why its important to ensure that you maintain your chain properly and keep the chain slack in check.
Why is it important to check and adjust your adventure motorcycle chain?
Your adventure motorcycle’s chain is the most critical component that transfers power from the engine to the rear wheel.
A motorcycle chain undergoes wear and tear due to factors like dirt, debris, and stress from high-speed rides and rough terrains. Chains are designed to get loose when under stress, after a couple hundred miles of riding this can result in a too loose chain that isn’t a good thing.
If an adventure motorcycle chain is too tight it will result in lots of wear of the sockets and sometimes a snapped chain, and if its too loose then you’ll get jerks while riding slowly and abnormal sounds while riding on rough terrain.
That’s why its important to have the chain slack of your motorcycle in the recommended level set by your manufacturer.
How often should you check and adjust your adventure motorcycle chain?
To maintain the optimal level of chain slack for proper performance and safety, it’s advised to check your adventure motorcycle chain slack every 500-600 miles.
If you’re thinking why so frequently? It’s because a happy chain equals to a happy ride and a happy rider. However, the frequency of adjusting and checking your chain slack may also depend upon on your riding style, the terrains you ride on, and the manufacturer’s recommendations on the optimal level of slack.
Most adventure riders generally ride 70% onroad and 30% offroads, the chain slack gets effected most when you ride too much on offroads as the speed is not constant and you’re always pushing the motorcycle with sudden accelerations.
So 500-600 miles is a good approximate for chain inspection, however if you mostly ride onroad in highways then a flat 1000 miles is recommended as typically the tension on chain is less on onroad.
Just remember to have regular interval chain inspection after those miles are done, this can help you catch any issues early and prevent potential breakdown on the road.
How to know if chain slack is too much on my adventure motorcycle
The easiest way to detect if your adventure motorcycle have too much chain slack is riding on bad patches of roads or offroads, if the chain is touching the chain slider of the motorcycle too much and making sound due to it slapping the motorcycle body then your chain is too loose.
You can also ask someone else to see the chain when you ride, if the chain is going up and down too much during acceleration and on offroads then the chain has too much slack and needs adjusting asap.
There are also a couple of things you can look for that can indicate your chain is loose. Some of the common indicators are:
- Unusual Sounds: A loose chain will produce a slapping or rattling noise as it moves along the sprockets. If you hear unusual sounds that seem to be coming from the area around the chain and sprockets, it means that your chain loose.
- Vibrations: A very loose chain can cause vibrations that are more noticeable than your usual ones, especially at certain speeds. If you feel like the vibrations through the footpegs, handlebars, or seat, have increased it might be that your chain needs adjustment.
- Inconsistent Power Delivery: Like mentioned before, a chain with too much slack effects the power transfer from the engine to the rear wheel too much. You will notice delays or inconsistency in power delivery, mostly during sudden acceleration. This can feel like a lag of the throttle response, plus you’ll also notice the unusual sound I talked about earlier.
- Visual Observation while Riding: If you look at your chain while riding, you may notice lots of movement of the chain, the chain going up and down too much which is more than usual.
If you think or feel that your chain is loose based on these signs, get it checked asap, down below I have given the steps to how you can check and measure your motorcycle chain slack yourself, you can also alternatively take it to a local motorcycle mechanic.
Measuring & adjusting your adventure motorcycle chain slack
The first step in measuring and adjusting your motorcycle chain will be to measure how much slack does your chain currently have, once you are done with that you can adjust the slack to recommended level.

Measuring the chain slack on your Adventure Motorcycle
To easily measure the chain slack accurately on your adventure motorcycle, follow these steps:
First Park your motorcycle on a flat solid surface and engage the center stand if available, if not you can just keep it in side stand or use an external stand.
Once the motorcycle is ready use a ruler or dedicated chain slack tool to measure the distance between the motorcycle’s chain’s midpoint and the swingarm, you can easily calculate the mid point using a scale by calculating distance from start of chain on the front sprocket to the back, then take the mid point.
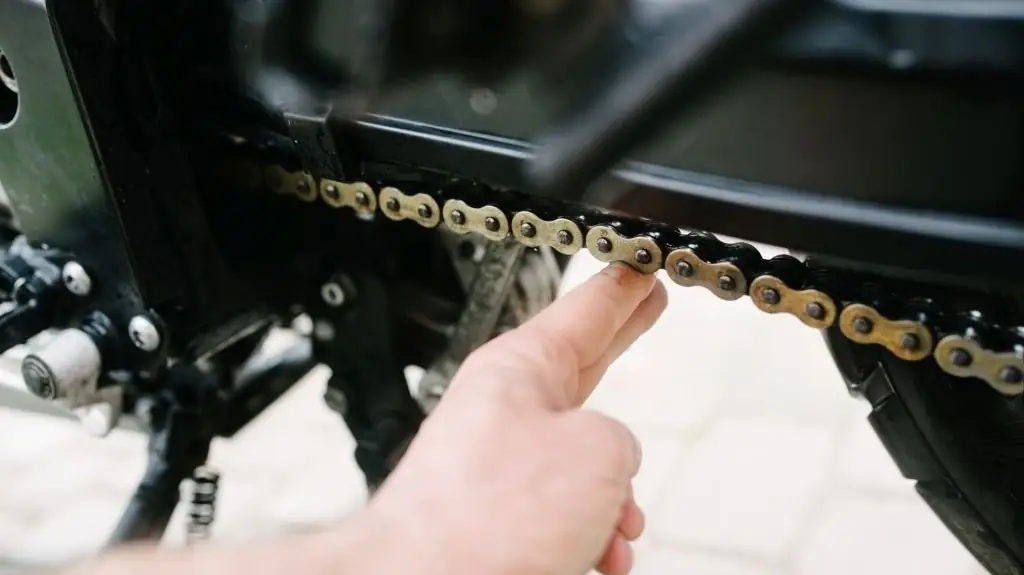
To measure the chain slack calculate the distance from chain’s midpoint and the swingarm using the ruler, first push the chain down using your finger a little. Once you know how much distance there is from the chain to swingarm, then push the chain towards the top, towards the swingarm. Then calculate how much the chain moves overall. This will give you the chain slack you currently have.
Now once you know how much your motorcycle’s current chain slack is look at your owners manually and see how much is the recommended chain is for your specific model, generally its best to have a little loose chain when it comes to adventure motorcycles for better offroads performance, and keeping the slack at manufacturer recommend level for mostly onroad.
Adjusting the chain slack on your Adventure Motorcycle
Now to adjust the chain slack you’ll nee these tools and equipment:
- Wrenches or sockets (as per your motorcycle’s specifications)
- Torque wrench or a Regular Wrench will also work but you’ll need to be cautious to not overtight or undertight the bolts.
- Rear stand or paddock stand (for ease of access), if you don’t have it you can just use the side stand, note that you will need to keep checking if the balance of the chain with wheel is correct frequently.
Adjusting the slack of your adventure motorcycle chain is a delicate maintenance task and you need to follow these steps for a precise and uniform adjustment of the chain other wise the motorcycle will get disbalanced:
Step-by-step process for adjusting chain slack:
Prepare Your Motorcycle: Park your adventure motorcycle on a flat surface, ensuring it is secure on a center stand or paddock stand for stability.
Locate the Adjusters: Locate the chain adjusters on both sides of the swingarm. These are usually bolts or screws that can be turned to adjust the tension of the chain, this is mostly same for all motorcycle brands.
Loosen the Axle Nut: Use an appropriate size wrench or socket to loosen the axle nut, this will allow the rear wheel to move back and forth.
Adjust the Chain Slack: Turn the adjuster bolts or screws evenly on both sides, so the wheel moves backward or forward symmetrically, make sure the wheel isn’t tilted more towards any side and is even. Make small adjustments in the slack and check the tension of the chain to prevent over-tightening or leaving the chain too loose.
Check the Alignment & Slack: As you adjust the chain slack, keep an eye on the wheel’s alignment. Make sure the wheel remains straight and properly aligned with the swingarm throughout the adjustment process and the chain slack is according to the motorcycle manufacturer recommendation.
Tighten the Axle Nut: Once the chain has been set to the desired tension and alignment, use a torque wrench to tighten the axle nut to the manufacturer’s recommended torque otherwise the wheel will get disbalanced if the bolt is not tight enough.
Recheck the Slack: After tightening the axle nut, check the chain slack using a scale to ensure it falls within the specified range, neither too tight nor too loose.
Tips for ensuring precise and uniform adjustment:
Achieving the right chain slack requires attention to detail. Here are some tips to make sure you get a uniform adjustment of your chain:
Make sure to turn the adjuster bolts or screws in small increments to prevent over-tightening or uneven tension on either side of the wheel making sure the wheel remains straight and balanced.
Use a measuring tool or ruler to check that the chain slack is in the the recommended specifications provided by the motorcycle manufacturer.
Keep equal tension on both sides of the motorcycle wheel to keep it aligned with the swingarm, preventing any imbalance that could affect the motorcycle’s handling or balance. If necessary, get assistance from a professional mechanic.
Optimal chain slack for different adventure riding scenarios:
The optimal chain slack can vary depending on the type of adventure riding you’ll be going through.
- Off-Road Adventures: For off-road riding, slightly looser chain slack is preferred due to the variable uneven terrain and suspension movements, this allows for better shock absorption and smoother power delivery to the wheel.
- On-Road Cruising: Keeping the chain within the tighter end is recommended for on-road cruising. This ensures efficient power transfer and stability of the wheel, especially during high-speed rides and long-distance touring on highways.
- Loaded Travel: When carrying additional heavy luggage or traveling with extra weight like a pillion, a slightly tighter chain slack might be necessary to compensate for the extra load and maintain a consistent performance and handling.
After a few adjustments and journeys you’ll know the best on what chain slack to keep for future rides.
Mistakes to Avoid When Dealing with Adventure Motorcycle Chain Slack
Adventure motorcycle chain is essential for ensuring a safe and enjoyable riding experience. Avoid these common mistakes to keep your chain in optimal condition:
Over-tightening or under-tightening the chain:
- Over-tightening: Excessive tightening of the chain can lead to heavy stress on the drivetrain components, including the engine, sprockets, and bearings. This will result in accelerated wear and potential damage, compromising the overall performance and safety of your motorcycle.
- Under-tightening: Just like overtightening, leaving the chain too loose can cause it to slap against the sprockets, leading to wear and damage to the chain and sprockets. Also a loose chain can pose a safety risk, as it might unexpectedly come off the sprockets while riding, leading to loss of control and accidents or injury.
That is why always follow the manufacturer’s recommended specifications for chain slack and use the appropriate tools for precise and uniform chain adjustments. And also regularly check the tension of your adventure motorcycle chain to maintain the balance between performance, durability, and safety.
Remember, a well-maintained chain is the key to unlocking the full potential of your adventure motorcycle.